Making a quality thermophilic compost has its challenges, but can be achieved by following basic principles and developing a recipe that works best for the soil microorganisms in your area.
Sadly, domestic and commercial composts available on the New Zealand market are generally produced to very low standards. The Industry is concerned primarily with the issue of waste reduction itself, with little thought going into the quality of the resulting compost. In fact, most of what we have observed using the Soil Food Web© protocols so far is putrefied organic matter, void of key beneficial microorganisms and is more likely to do harm to garden than help. Soil biology until recently has been largely ignored by agriculture and the composting industry is a reflection of this. These poor compost standards have given New Zealand consumers no option but to buy what is available. This has the consequence of giving “compost” a bad name. These standards have limited consumer information about what good compost really is and how it should be performing in your garden. Many gardeners for instance will not use what’s available from gardening stores as they know from their own experience the poor results. Many opt instead to home compost, managing their gardens needs themselves.
Due to the quality of the composting process, compost bags available from gardening stores are often heat treated or autoclaved prior to sale. Both to destroy weed seeds but also to deal with the human pathogens present (such as legionaries’ disease). Although this is common practice for many compost producers, it will typically destroy pathogens but also any beneficial microorganisms present and is totally indiscriminate. It’s pretty clear to us that compost has been given a bad name, largely due to poor quality processes and products, overlooking the importance of soil biology.
It is important we make a distinction between thermophilic composting and other forms of composting such as vermicast (worm castings) and static piles. Thermophilic composting refers to the “heat loving” Bacteria and Fungi which produce heat via reproduction. This heat which drives the thermophilic process, arises from friction; For bacteria it is the dividing of cells that produces friction and subsequent heat, and for Fungi, it’s the branching of hyphae which does this.
When the recipe is right, the cumulative heat from the growth of Bacteria and Fungi will “cook out” the human pathogens, leaving you with a safe and microbially diverse compost. This heat produced by thermophilic composting method is its key advantage. The pathogens that infect humans are naturally adapted to live around the temperature range of our bodies. Thermophilic compost sustains much higher temperatures than this range, safely killing off human pathogens. Weed seeds are also killed off as a consequence of the thermophilic process, another advantage over other composting techniques.
Thermophilic composting maintains aerobic conditions: This is the foundation of thermophilic composting. Aerobic conditions are also the foundation of a healthy soil food web more generally. Maintaining aerobic conditions (An oxygen rich environment over 6 ppm) means safeguarding that all the beneficial microorganisms such as Nematodes, Fungi and Protozoa are able to develop and thrive as part of composting process. Promoting and maintaining aerobic conditions is a form of “bootstrapping” for the soil food web system. All the beneficial microorganisms we need to maintain the soil health are strictly aerobic, so maintaining aerobic conditions throughout gives them a competitive advantage over undesirables.
This means that if the soil or compost dips below 6 ppm oxygen, the beneficial microorganisms struggle to survive and begin to face competition from disease-causing anaerobic organisms. Once oxygen dips below 4 ppm, the anaerobic organisms such as Ciliates and Oomycetes gain competitive advantage over the aerobes and the soil food web collapses. This collapse of the soil food web generally resets the ecosystem, pushing it back to a stage in which you will struggle to grow anything but weeds.

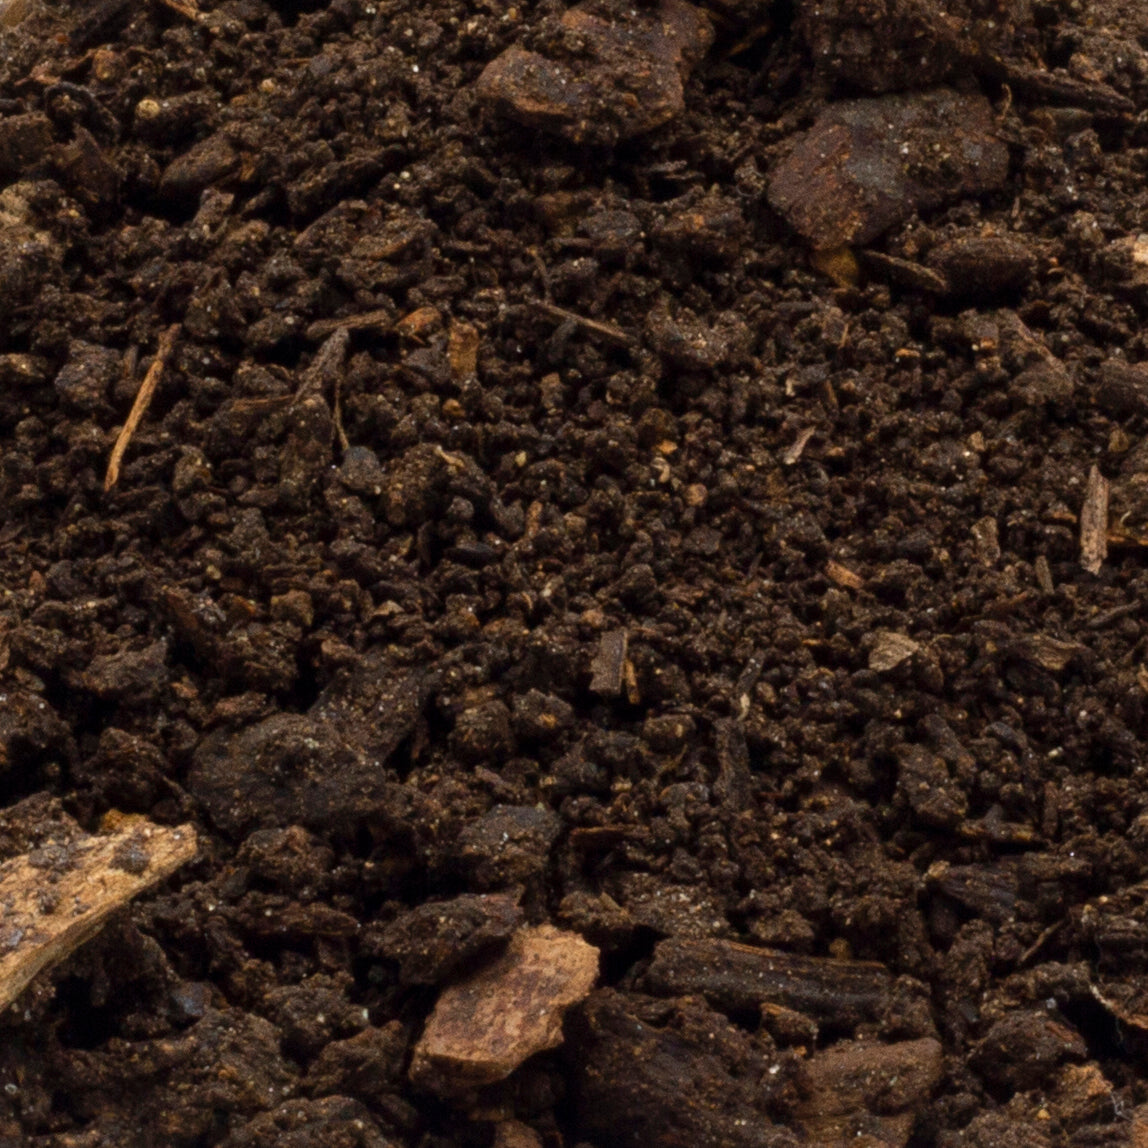
Figure 2. An aerobic environment showing a wide range of beneficial microorganisms
Thermophilic compost is typically made in windrows, but can also be made in cages (Fig 1.). It really depends two factors: the scale and the inputs available. If you are looking to produce larger quantities of compost regularly, a windrow turner is probably your best option as there is considerable labour involved in turning which wouldn’t be viable at smaller scale. However, if you are just looking to make smaller amounts of compost and turn by hand, the cage style is a better option.

Figure 1. Diagram showing a cross sectioned thermophilic windrow (left) and a thermophilic cage with arial view (left).
Vermicasts and Static piles
Techniques such as Vermicast have many advantages for the home composter but does not reach the temperatures required to kill off weed seeds as seen in the Thermophilic process. Worms (usually red wigglers), have unique gut flora which inoculates the compost as they go, processing the inputs. Many gardeners consider both Thermophilic compost and Vermicasts important as they contain different assemblages of soil microorganisms, creating blends to get the best of both worlds. Maturing thermophilic compost however, often attracts worms after it is cooled down enhancing the quality of the compost similar to creating a blend.
Worms will leave eggs behind if conditions are not favourable, temperatures higher than 32°C mean they will leave the pile. So, it is not recommended to add worms during a thermophilic process as they will leave due to the heat conditions.
Vermicasts and thermophilic compost require different moisture levels to be effective. When talking about moisture levels, Soil Food Web© always refers to the “free water test” as opposed to gravimentic water. Vermicasts need 70% free water whereas thermophilic composts require only 50%. You have to be careful not to add to much water, as worms will lay eggs and begin to leave if the moisture content gets above 75-80%.
Benefits to using worm castings include being able to add inputs regularly and the unique microorganisms they facilitate via their microbiomes.
A downside of vermicast is that more respiration occurs with Worms, increasing the amount of CO2 released into the atmosphere. Thermophilic composting actually sinks carbon into the system
The most common form of composting at home is what is called a static pile. This is not strictly a thermophilic composting approach, it’s more of a chuck everything in and wait and see approach. Given enough time undisturbed (~2 years), static piles can produce usable material.
Overall, static piles are pretty risky and have the potential to be harmful if used. For small-scale home composting Vermicast is a better solution than static pile.
If you can get enough ingredients together to make yourself a small thermophilic compost pile then this is probably the best option in terms of quality but you will need to monitor the temperature in the pile using probes and turn it at the correct times during the thermophilic phase (typically takes less than 2 weeks).
Getting started: Generating thermophilic compost
It starts with a recipe, a general guideline from Soil Food Web© is;
- 10% high nitrogen materials.
- 30% green materials.
- 60% woody materials.
The Carbon to Nitrogen ratio (C:N ratio) of these materials puts them into the three broad categories above. High Nitrogen materials have a C:N of around 10:1. High N materials are consumed by bacteria, which outcompete fungi for these foods due to their targeted alkaline enzymes. These high N foods are responsible for getting the compost pile going, rapidly increasing the temperature to achieve the thermophilic standards. However High N materials do not maintain this temperature for a sustained period as they are quickly consumed by bacteria. Green materials are required to sustain the temperature throughout the turning process. Green materials have a wider C:N ratio of around 30:1. These materials are still largely bacterial food but there is some competing from fungi and they are consumed more slowly, maintaining the required temperature throughout the turns of thermophilic compost. Then there are the Woody materials, which have a particularly wide C:N ratio of around 60:1 - This is fungal food. Fungi (unlike bacteria) produce a wide range of acidic enzymes outcompeting bacteria for these carbon rich foods. Woody material (which often includes dead standing materials like straw) provides important internal structure, facilitating oxygen diffusion into the pile. The Woody material is consumed slowest and continues to break down, increasing fungal biomass long into the Maturation phase after the thermophilic process is complete.
Remember to keep in mind that these groupings are only a guideline and some of your inputs will be between these categories. It can be difficult to estimate C:N ratios, unless they are on the bag which is often the case for high N inputs like fish hydrolysate for instance. For most of the inputs however you will have to estimate using the guidelines. One way to test that you have the right ratios of material is to make very small test piles to make sure they heat up, don’t get too hot too quickly, and can sustain heat after being turned. These micro composts can really save you a headache if the recipe isn’t right. The most common mistake for beginners is adding too much of the high N material. People tend to presume “more is better”, but this is not the case when things need to be balanced.
The diversity of materials used is an important consideration. Ideally don’t just use one kind of high N, green and woody material. Try to us a wide a variety of materials for each group if possible. Remember many of these materials actually contain diverse communities of microorganisms already, serving to inoculate your compost pile, enhancing the composting process.
The other key factor is the moisture content. Healthy soils are a solution which contains a great deal of water. The soil microorganisms are adapted to this water rich environment and require this moisture to be maintained so they can survive. When we talk about moisture content here we mean free-water, not gravimetric water, which is an important distinction Correct moisture levels of 50% must be maintained throughout the process to prevent the community from drying out going into dormant stages (Fig 2.) One way to ensure this is to make sure your starting materials are soaked in buckets the night before, draining before use. Another is to have someone constantly spraying the pile with the fine mist while it is mixed. Whatever you do, make sure you get the moisture levels right at the beginning so the soil microorganisms can thrive.


Figure 2. Slides showing dormant stages of Nematodes (Dauer larvae) (a) and the testate Amoeba (b) under water stress.
Environmental considerations
Many recipes are available online but something to keep in mind is the overarching effects of the environment on the thermophilic process. Ideally start composts in spring/summer to make the most of the ambient temperatures. In cooler seasons, additional green and/or high Nitrogen material may be needed, substituting out some of the woody materials. Winter means the thermophilic process will be battling against the cold to maintain safe temperatures, particularly during the evenings. It is much more efficient to do the thermophilic stage of compost during the warmer months if you can as it is easier to maintain high temperatures, and, you can use less of the high N materials which can be expensive.
Temperature
You can think of the thermophilic process a little like cooking chicken: it has to be held at a given temperature for a specific amount of time to kill off or “cook out” the human pathogens present. There are three temperature targets and associated times to do this before a turn:
- Over 72°C for 1 day
- Over 65°C for 2days
- Over 55°C for 3 days
This temperature can be adjusted by controlling the inputs. For instance, increasing high N will give you a hotter pile and Adding extra green materials will sustain the temperature for longer during the turns. One thing that’s quite common in the beginning is adding too much High N materials, thinking that more will be better. Although these can be completed quickly, running high N, faster, super-hot composts run the risk of going into anaerobic conditions. If it gets too hot (over 72°C ) it begins to produce toxic compounds such as alcohols, phenols and greenhouse gasses like methane and nitrous oxide. Alcohol production is one of the bigger problems, Plants cannot tolerate even small (1ppm) amounts of Alcohol which dissolve their cell walls. Worse, if the pile reaches 88°C the whole thing can even combust!
These conditions can destroy all the hard work you have done building up aerobic microorganisms and the carbon that was being sequestered as organic matter, will be released back into the environment. Given these potential risks, at least at first, low and slow is good approach, such as working with the 65°C or 55°C temperature range. Low and slow is less risky and also more forgiving if it gets left longer than anticipated.
If you do get into the scenario where your compost pile is getting too hot, a low tech but effective solution is to create “chimneys” which ventilate the pile lowering the temperature and increasing the diffusion of Oxygen into the pile 
Turning the pile
The compost pile must be turned after each temperature cycle. This is because only the hot core of the pile has been heat treated . The outside layer is too close to the open air to heat up and must be turned in to make the new core which will get the same heat treatment. There are several turning methods depending on the scale required; From good old fashion pitchfork work all the way to using tractor pulled windrow turners and even free-standing turners.
There are also a few variations on the turning technique. Most such as the Berkley technique involve turning the pile 5 times, ensuring all material has been heat treated in the hot core. Environmental standards such as that of Organic compost require 5 turns.
Shape: Windrows vs cage
Another composting style gaining traction internationally is the Johnson-Su bioreactor. These bioreactors have many advantages, and are generally easy to manage, see our last blog about how to build your own Johnson-Su Bioreactor here!
The Maturation Phase
Once you have completed the thermophilic stage, making the necessary turns after attaining the temperature targets, the hard work is pretty much over. Now comes the maturation phase; from the beginning stages of the thermophilic compost the community of soil microorganisms goes through a well-established series of structural changes to the soil food web, known as an ecological succession. These successional stages are adapted to different vegetation types and have a dynamic relationship with disturbance events in a ecosystem.
One way in which we monitor and assess which successional stage a given compost has reached, is to understand the Fungal to Bacterial ratio (F:B ratio) in that compost. This is an effective proxy for successional stage as the clearest change in the successional sequence towards maturation is a reduction in bacterial biomass (Low C:N foods added during composting are consumed) and an increase in fugal biomass (high C:N ratio foods start to be consumed through competition). The maturation phase can take anywhere from 6-12 months to 3-5 years to complete depending on your starting materials and the desired successional stage you want. The successional stage you require will be determined solely by which crop you wish to grow. For instance, brassicas, like broccoli and cabbage require quite an early stage of succession for optimal growth (F:B ratio around 0.5), as brassicas don’t use mycorrhizal fungi like later successional plants. On the other end of the scale, if you were growing Deciduous trees or further, were planting Coniferous forest, the F:B ratio would be much higher, around 5-100:1 for Deciduous trees and as high as 100-1000:1 for Coniferous forests.
For most plants though, the mid-late successional crops, a healthy F:B ratio of somewhere between 0.5-2:1 is typically required. The difficulty of producing quality fungal biomass is really the biggest challenge. One must get the recipe right including the high carbon foods to master this step.
Of course If you’re not using a microscope, it is hard to really know where your compost is at in term of the F:B ratios, but we can arrange this for you here! Feel free to send us an email if you would like some more information about soil testing services we offer. - store@seaclifforganics.nz
Storage
Storage is an important consideration that is often overlooked. It is possible to make very good compost and then undo all that hard work if moisture and oxygen levels are not maintained. Make sure it is properly covered. Avoid storing compost in areas where run off may occur (i.e. at the bottom of a slope). This could wick up into the pile affecting the moisture levels. The moisture levels need to maintained at around 50% (drip test) - the same as when going through the thermophilic process. If your pile got too dry for example (below 30%) many of the organisms you worked hard to build up will dry up.
During the maturation phase, many people go for the simple solution of covering with a plastic tarpaulin, keeping this weighed down by something not too heavy as to compact the compost but heavy enough to stop the Tarpaulin from “tenting”.
A better long-term solution is to buy or make a purpose-built cover.
Assessing the quality of your compost
Your senses are for getting an idea about the quality of a finished compost. There really is no substitute for quantifying your microorganisms using microscope but these guidelines are useful.
Colour – We are looking for a 70% cocoa colour, this comes from the development of humus by the soil food web during the composting process. Anything darker than 70% cocoa is usually a sign of anaerobic conditions. This is a little counterintuitive as you may think the darker the better but this is far from the truth. Very dark materials (which is almost everything you buy in a bag from what we have seen) should be view with some caution due to this problem.
Smell – Should be a good rich earth smell, a little like the smell before it rains. No alcohol, phenol, or ammonia type smells. “The nose knows” when it comes to harmful compounds in your compost and your immune system will respond accordingly.
Texture – Take a handful of your compost and gently shake it in your hand. If it disperses and falls away you probably haven’t built up the microorganisms that generate the micro and macroaggregates which are the basis of good soil structure.
In summary, you will struggle to buy a good compost product from most retailers in New Zealand. One way around this is to control the composting process and make your own. There a few routes to making compost and it will be both input and scale dependent. We advise against a static pile in most cases, opting for either vermicast for small, regular home composting or thermophilic composting if you have the inputs available as this provides the most benefits overall.
FAQs
What is thermophilic composting?
Thermophilic composting is a composting method that utilises heat-loving bacteria and fungi to generate high temperatures, which helps kill pathogens and weed seeds in the compost pile.
What are the benefits of thermophilic composting?
The benefits of thermophilic composting include effective pathogen and weed seed elimination, the promotion of aerobic conditions for beneficial microorganisms, and the production of high-quality compost with improved soil health and nutrient availability.
